

Photographer/retoucher: Asia Asberry
Model: Christabelle Toso
Session date: October 12, 2020
- Tools -
Body: Canon 5D Mark III
Lens: Canon 24-70mm 2.8 II
Lighting: Godox SK400 II
Light modifier(s): Godox 47” Octabox (with diffuser and grid), Insignia 32” reflector
Backdrop: Savage Universal seamless paper in Coral
Adobe Photoshop
IDEATION
“Bubblegum” is a project that came to me during a photography hiatus. I wanted more practice with retouching using dodge and burn on Photoshop as well as getting more comfortable using artificial lighting. When I thought of the idea, I sketched it out using the Procreate app on my iPad.
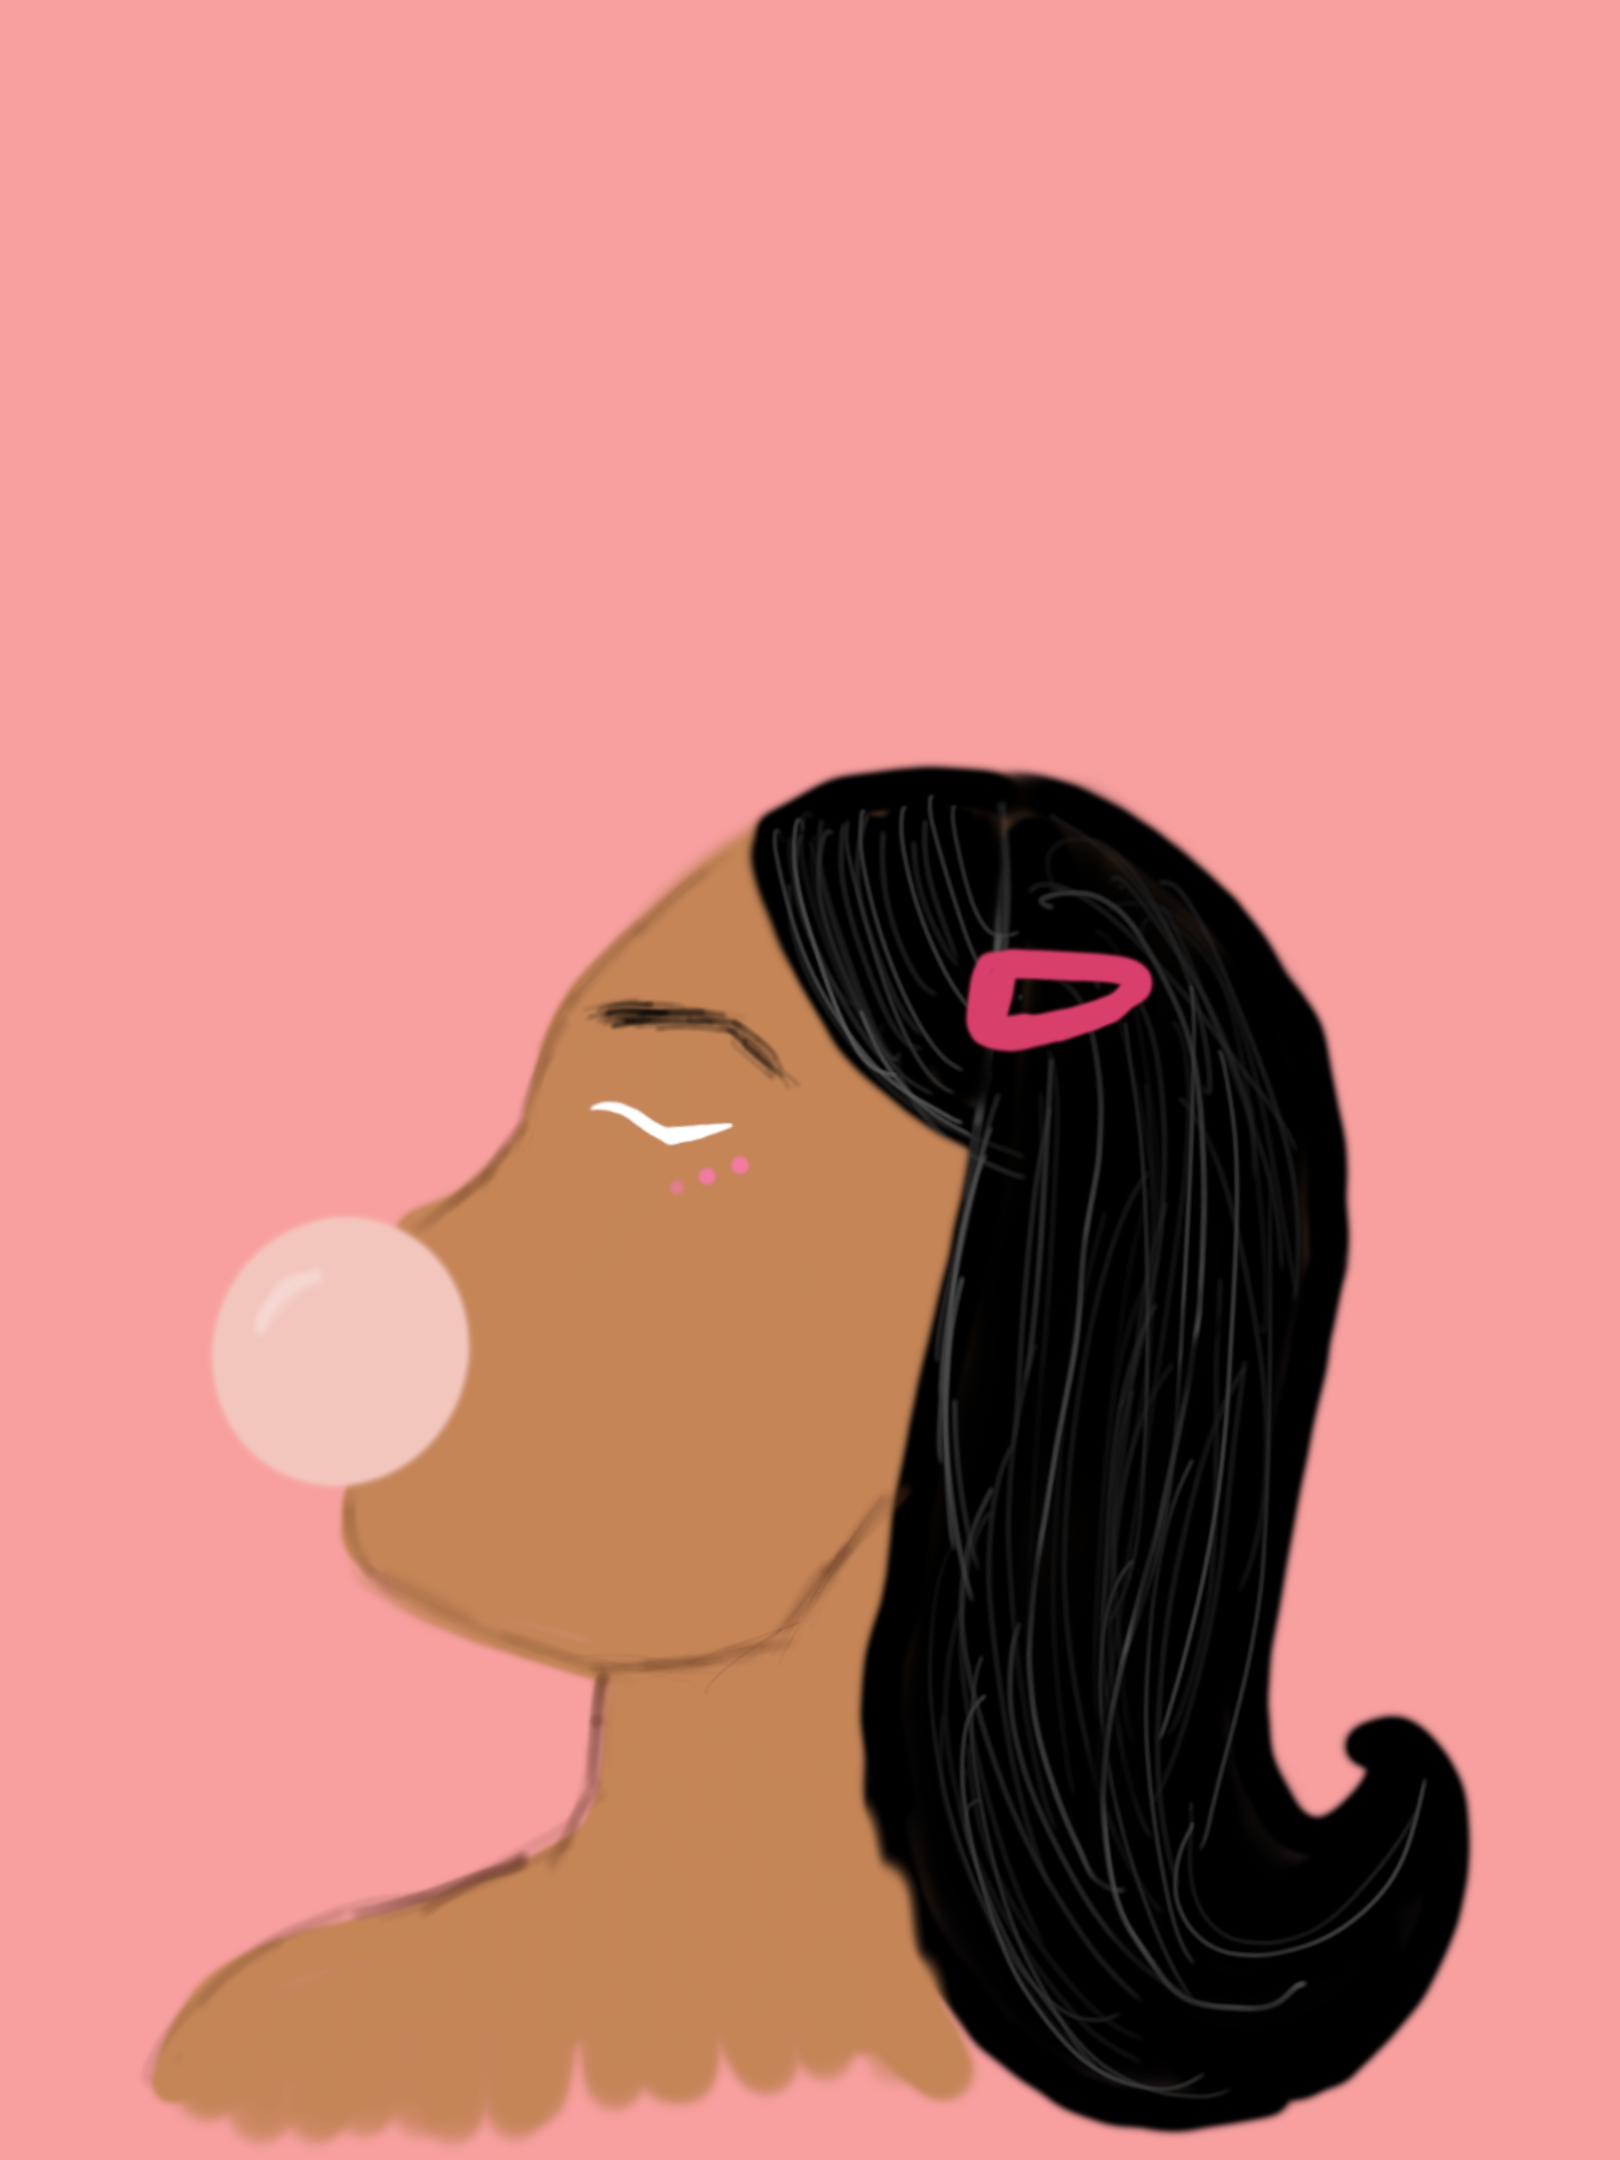
Bubblegum concept sketch
Quick sketch of the concept I had in mind. Having a visual really helped with ensuring I was solid on my vision.
I knew that for my idea, I wanted to focus on a few key things:
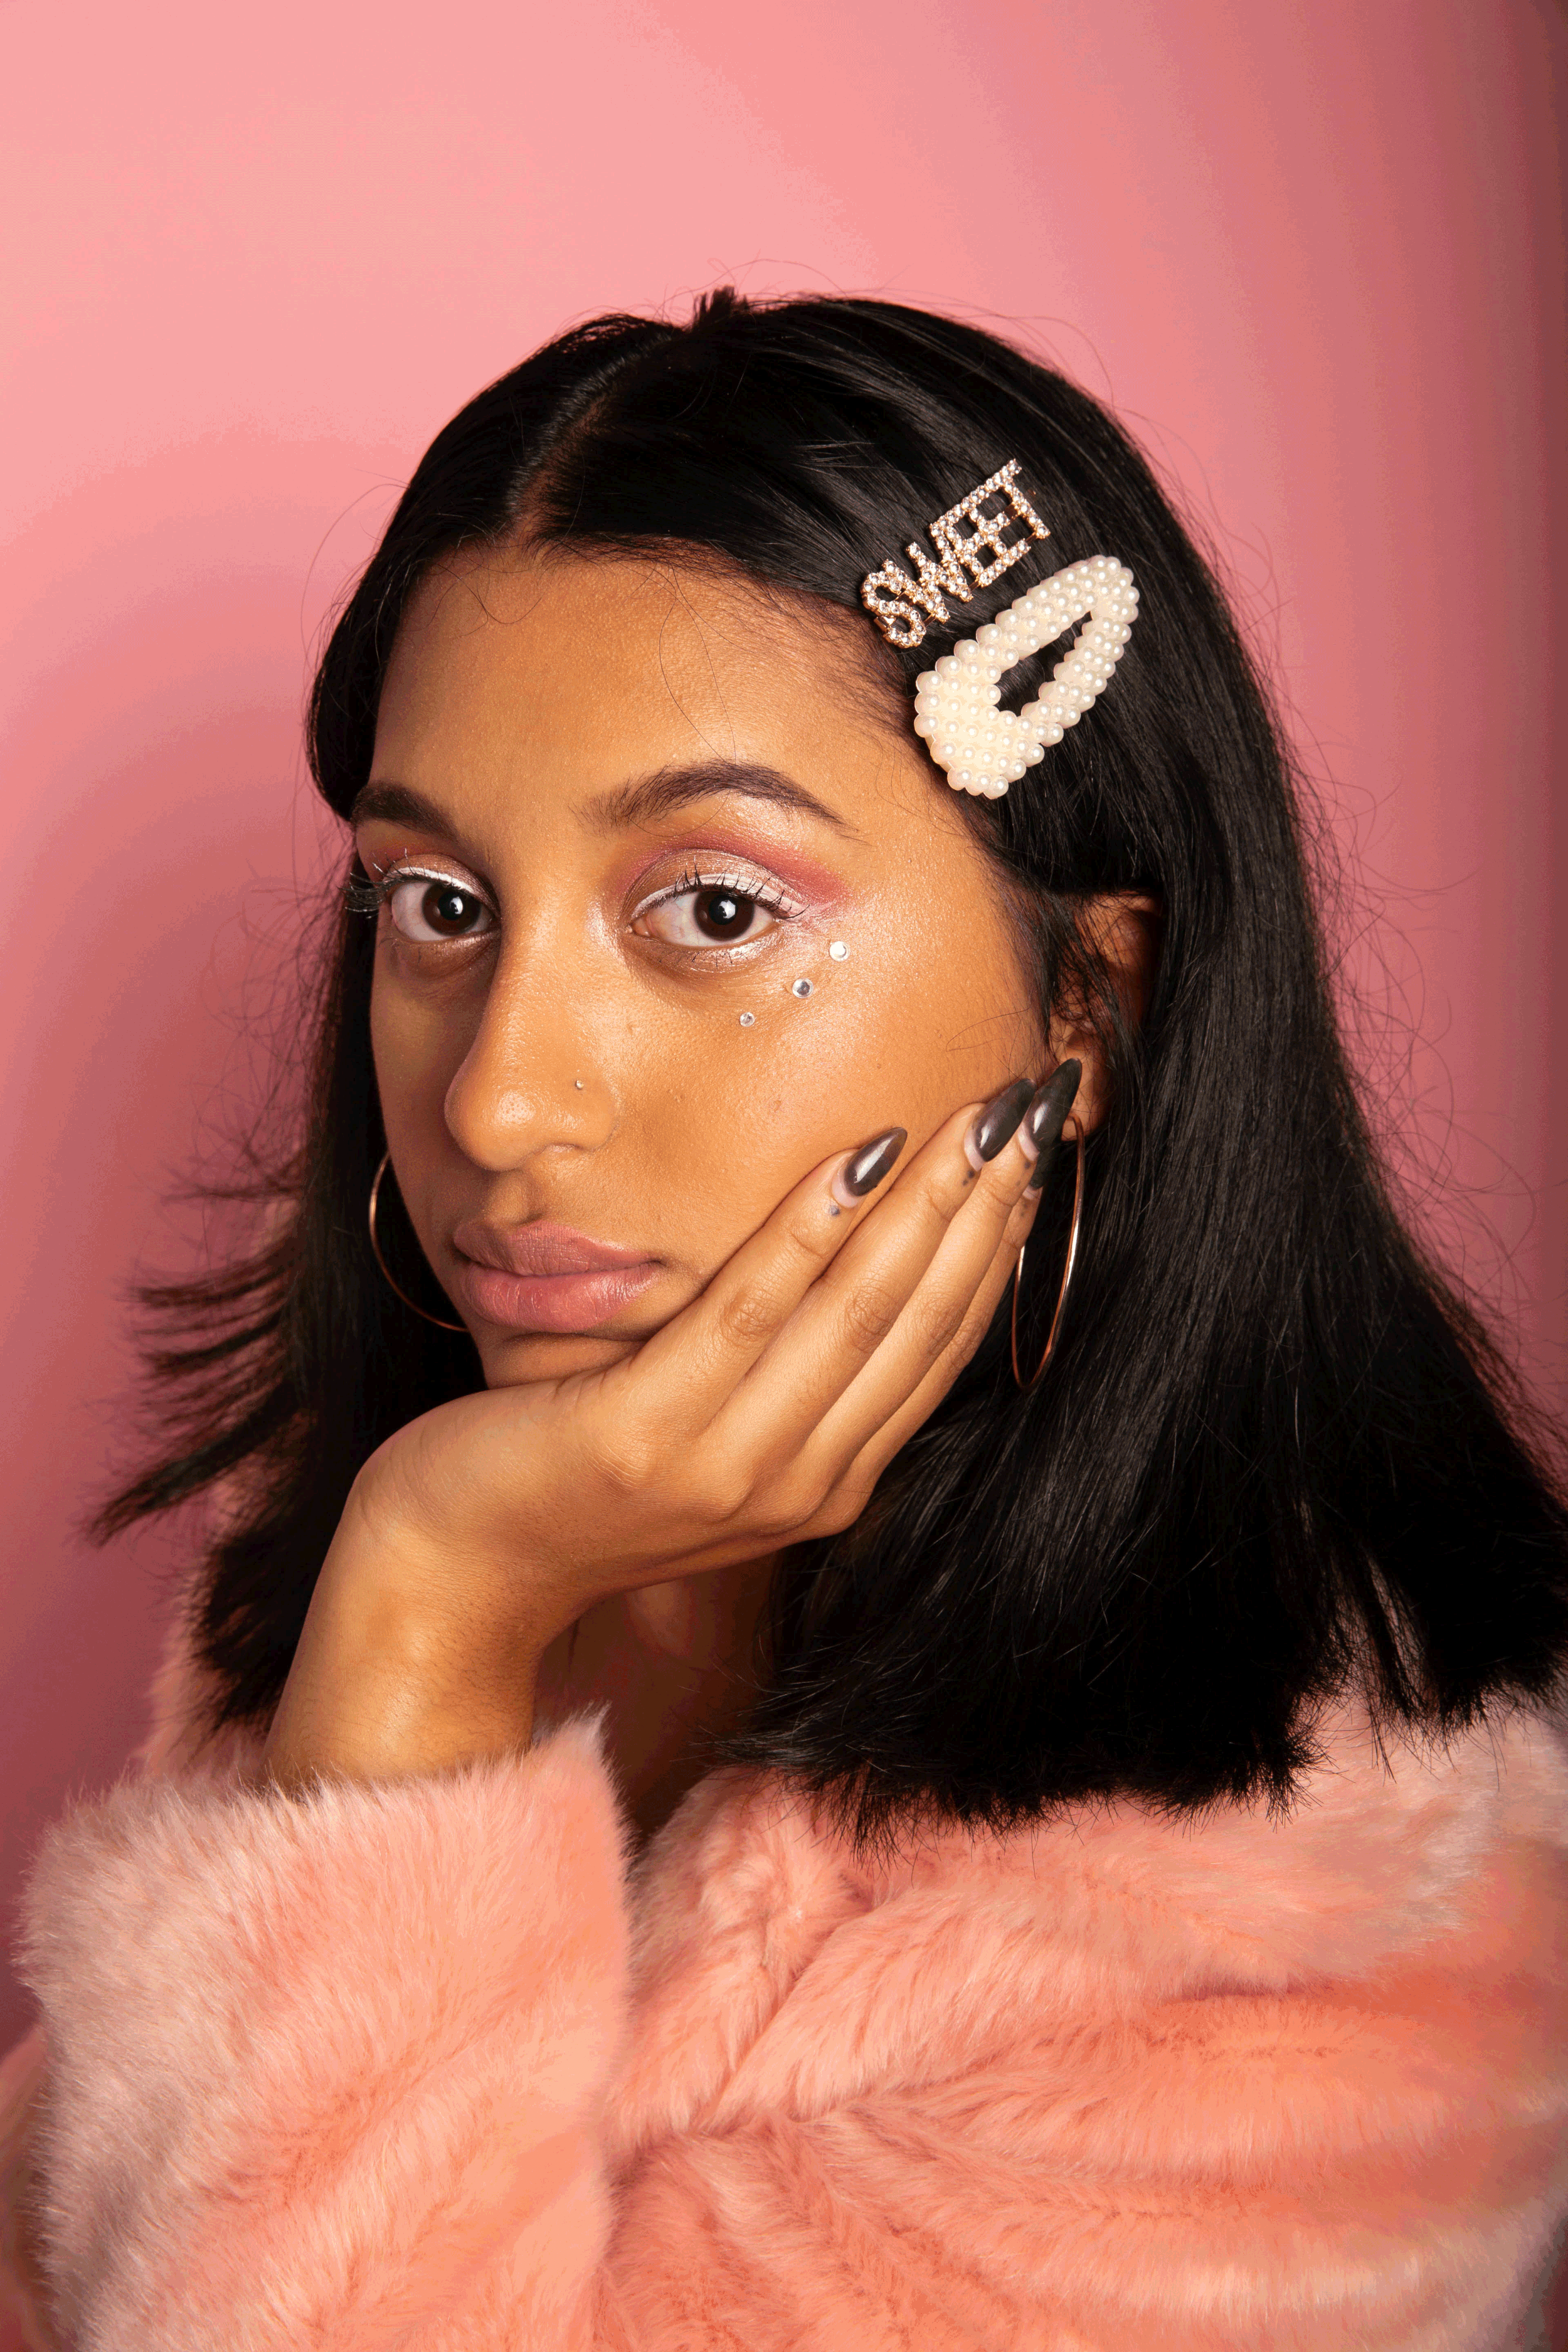
1. A girly but edgy vibe.
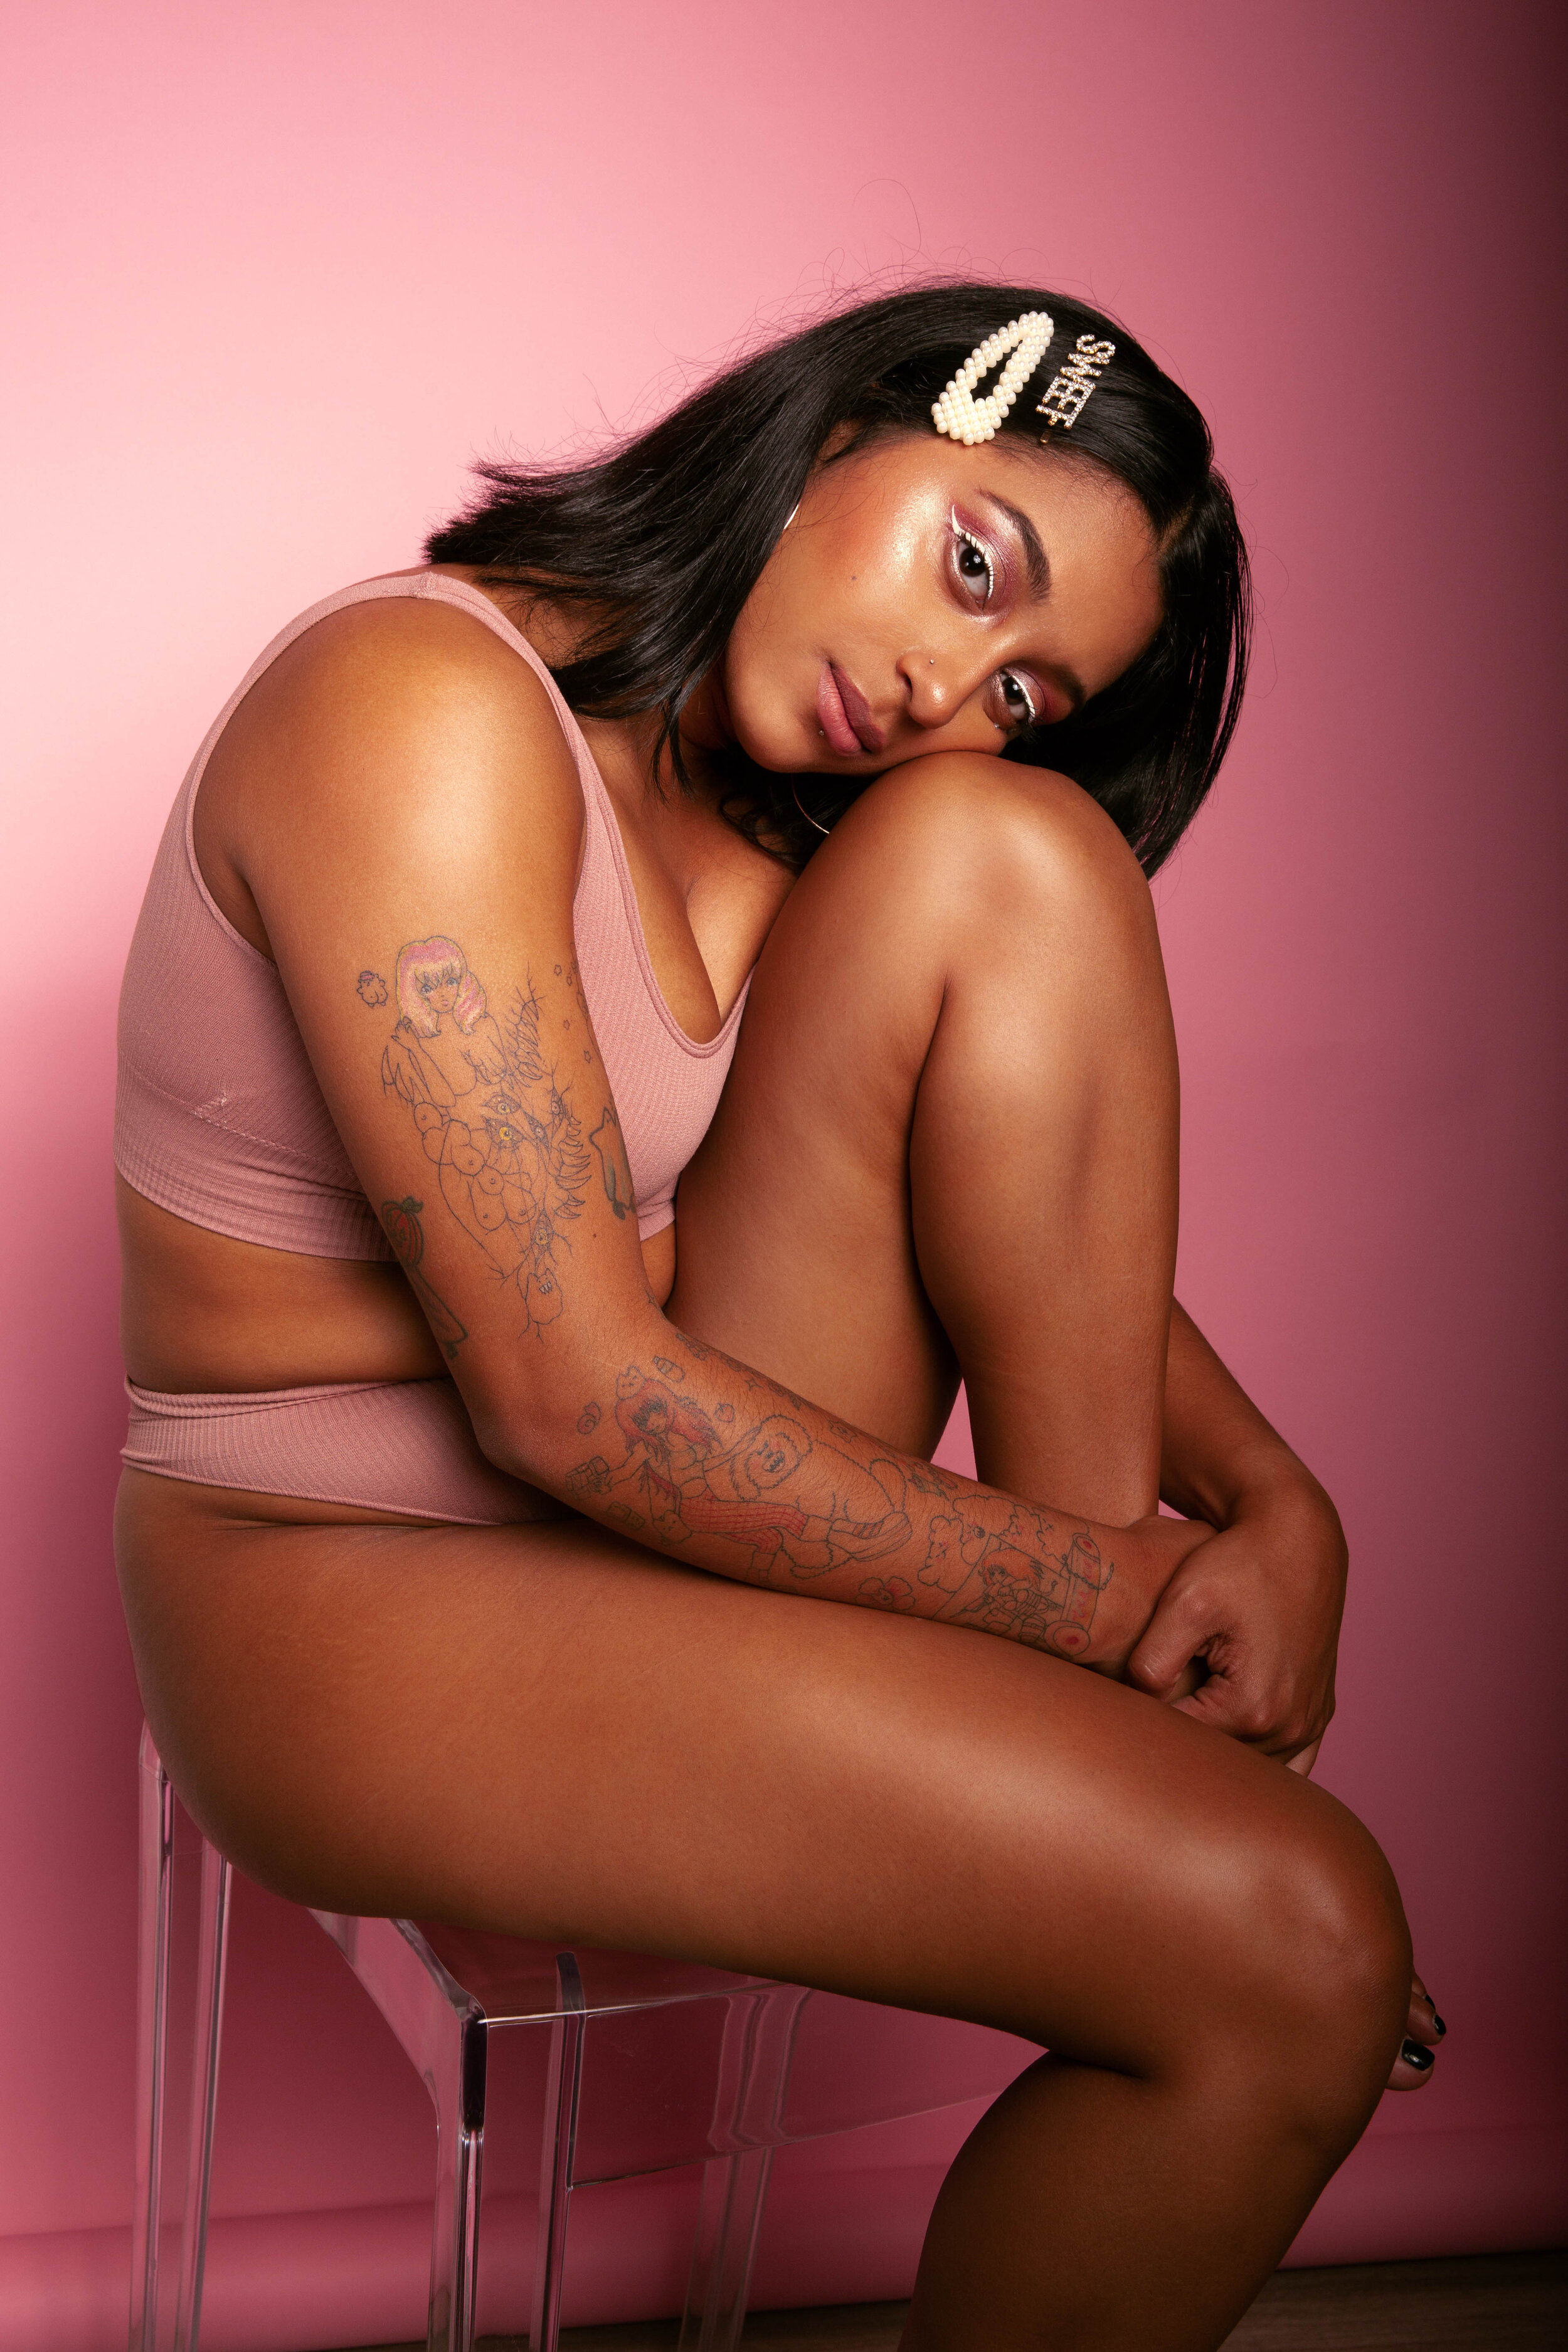
2. A focus on skin and bold makeup.
3. A monochromatic theme.
4. Bubblegum.
After solidifying what I wanted, I began to look for models who fit the image I had created in my head and had drawn on the inspiration sketch. It did not take me long to remember I had a coworker who fit my vision perfectly - Belle. I reached out to Belle on October 7 and after a quick Instagram DM detailing my idea and showing her the sketch, Belle confirmed she would be able to help me bring this shoot to life.
Due to a growing collection of photography props, clothing items, and having lots of interesting pieces of my own, not much had to be purchased to accomplish the vision I had. I only needed to purchase the 53” wide Savage Universal backdrop in Coral and the bubblegum. Thanks to Amazon Prime, the backdrop arrived 2 days later and we were able to plan the shoot for October 12.

My simple living room set up
- Lighting: Godox SK400 II
- Light modifier(s): Godox 47” Octabox (with diffuser and grid)
- Backdrop: Savage Universal seamless paper in Coral
PROCESS
I began to set up my in-home studio the morning of the shoot. Despite how easily I set everything up, my light stand broke almost immediately upon starting the shoot (it was the wrong type of stand for such a heavily light + modifier combo). We had to get creative and use a barstool as a stand and Belle’s makeup bag as a weight to keep it stable. Despite our difficulties, the session went according to plan after.
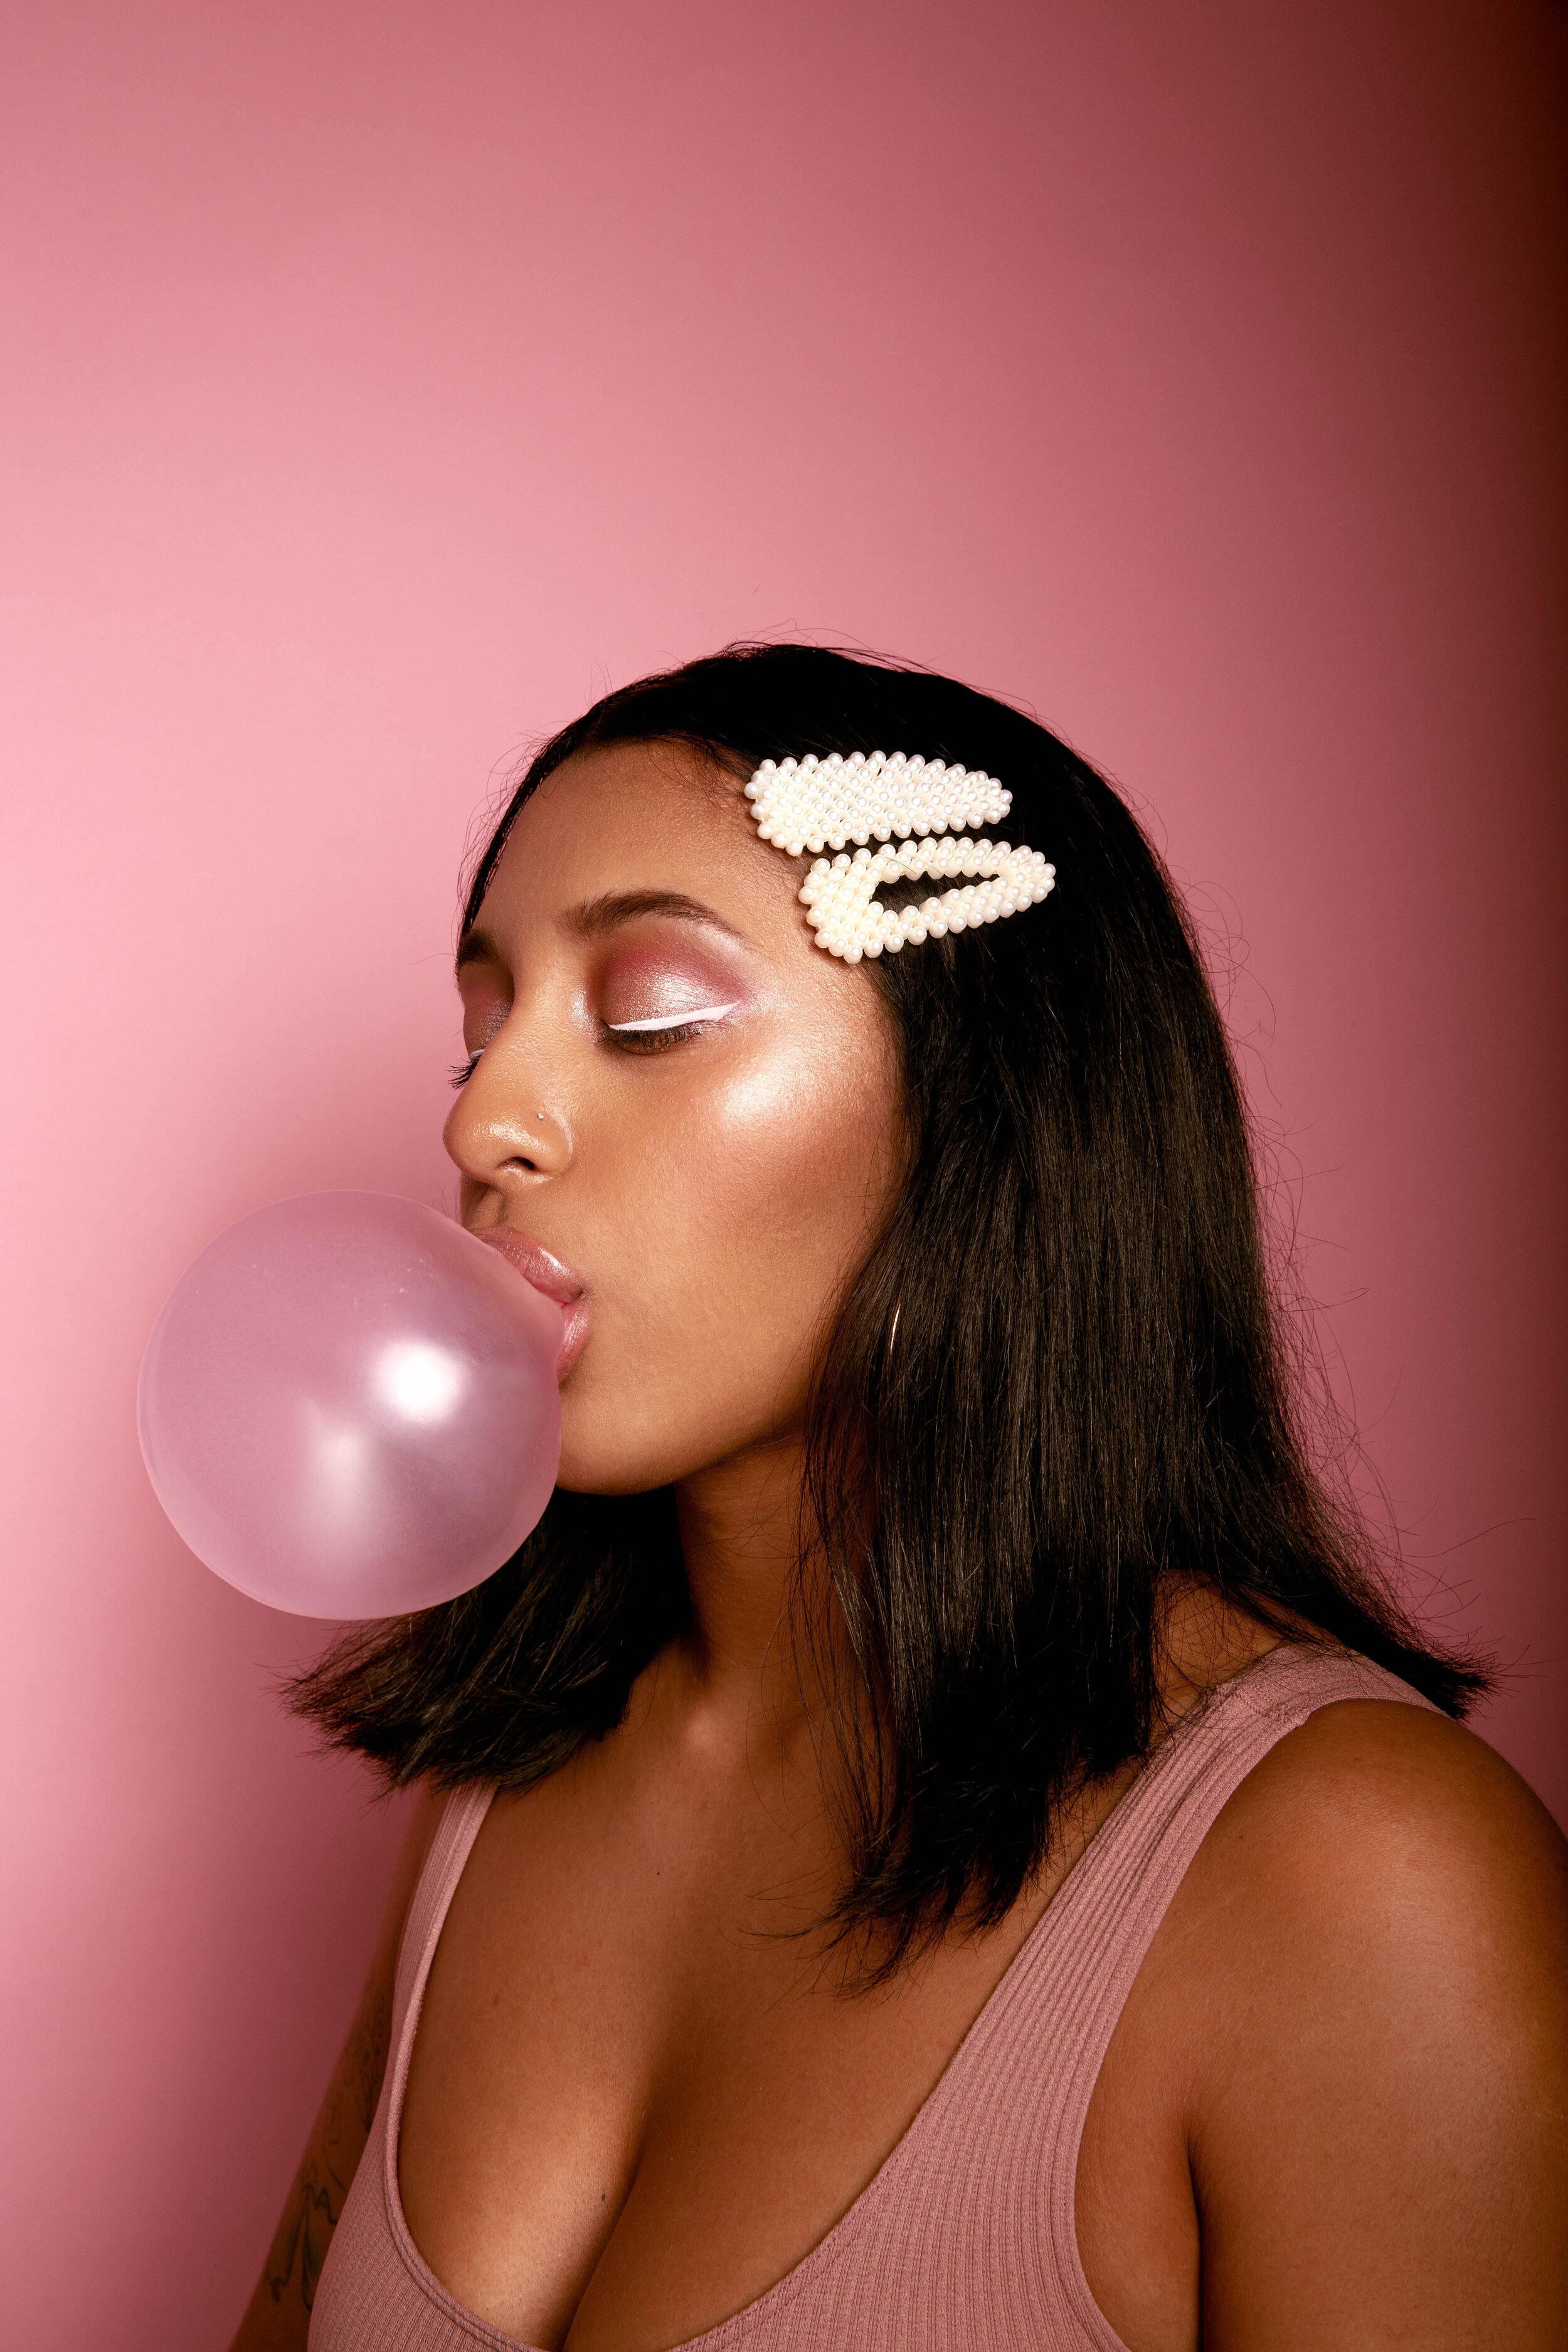
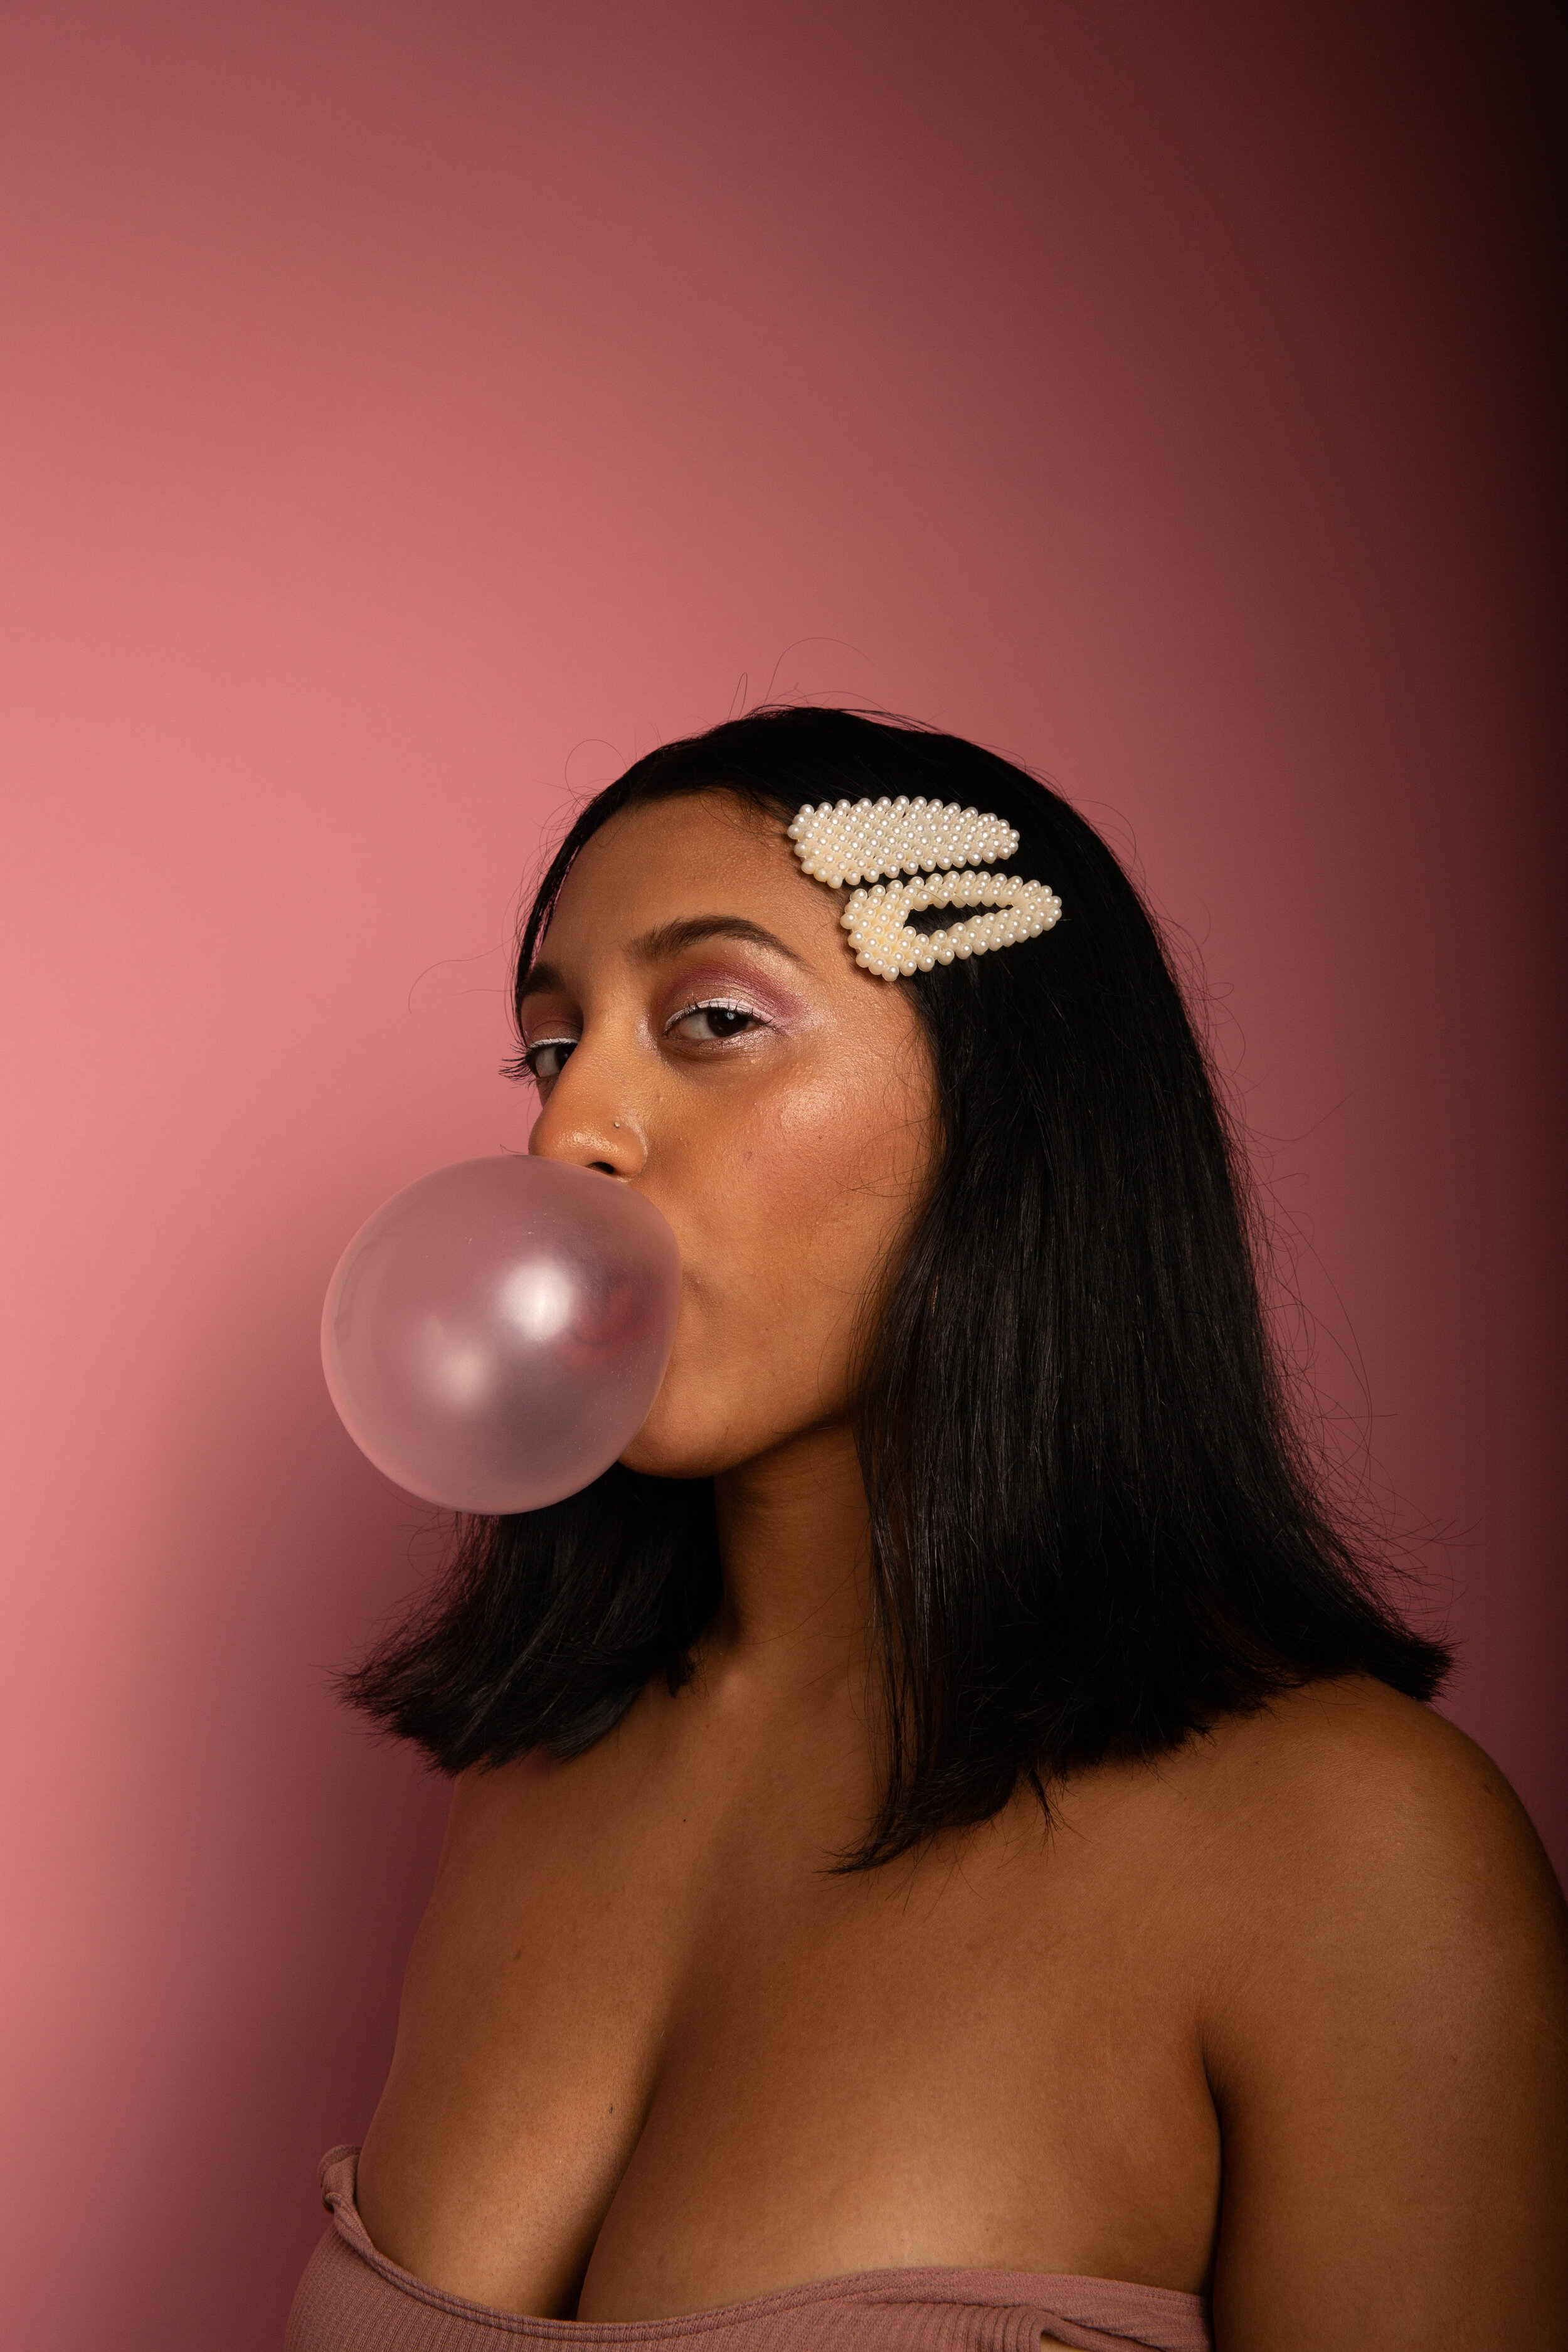
One of the more challenging parts of the shoot was trying to capture Belle blowing a nice, round bubble with the bubblegum. It seemed like whenever we liked her face in the picture, the bubble was small or popped quickly and whenever she blew an amazing bubble, we didn’t like her face or my shutter wasn’t quick enough to capture it. After countless attempts, we gave up and I made a solemn vow to try my best to Photoshop one of the better bubbles onto a photo of her face we both liked.
RETOUCHING
I managed to do this in Photoshop by selecting the bubble from the first photo, adding it to the second photo, and using the liquify tool to make it bigger and rounder. After moving the bubble to the photo I wanted, I used the clone and brush tools to blend the color of the bubble to match the coloring of the photo so that it blended seamlessly.


When this step was complete, I moved onto the skin retouching using my favorite (and most time consuming) method: dodge and burn. I had only used dodge and burn one time before this so it was still a little intimidating but I knew this method would deliver the results I wanted. I like dodge and burn because it maintains so much of the skin’s natural texture while giving you (the retoucher) full control over any discolorations or spots you want to get rid of. However, this full control comes at the price of having to use a very light brush and move in small sections to achieve the most desirable results. This tedious process took me between 30 minutes and 1 hour per photo.
Coupled with dodge and burn, I also utilized luminosity masks (also mention in “Seasons”) to be more precise in my color-grading.


My usual style of editing is very warm but since Belle’s skin tone and the backdrop were already very warm, I decided to take color grading more in the cool direction. I knew leaning towards more cool tones would regulate the white balance and bring more of Belle’s natural skin color forward instead of making her look so yellow like the original shots did.
If you scroll back up to the original concept sketch, you will see that I wanted a very bright white winged eyeliner look. Though Belle did a great job of applying it and it looked great in person, it almost 100% vanished on camera. To counter this, I used Photoshop’s brush tool, selected a whitish/pinkish color, lowered the opacity and flow, and traced over the line that Belle had already done with my brush. You can see what a big difference that made in each photo, especially in the before + after gif.


Final thoughts
I did not expect for this project to end up looking as edgy as it did but I actually love it way more than the vision I had in my head. Belle was the perfect model to make this shoot happen. I definitely want to revisit these photos in the future to clean up the flyaway hairs. I recently learned a better method to remove flyaway hairs and would love to re-edit these.
My main objective with this project was to bring an idea to life, get more practice with dodge and burn skin retouching, and become more comfortable using my Godox strobe. This project successfully accomplished all of those tasks and was very well-received on social media.